DeepSeek Harness 插件开发完整教程:从第一个工具到可安装 Bundle
DeepSeek Harness 插件开发,是用 Cordis 插件把工具、模型适配器、策略或界面能力挂载到 dsh 运行时的过程。本文基于 DeepSeek AI 官方仓库 0.1.1-rc.2(2026 年 8 月 21 日)完成一条可复现路径:准备 Node.js 22.19+、编写 text_stats 工具、用 cordis.patch.yml 调试、封装 bundle、安装到 profile,并解释依赖注入、自动清理、配置分层、模型端点与发布安全。完成后,你会得到一个可被模型直接调用、也能被其他用户安装的插件。

DeepSeek Harness 插件是什么
DeepSeek Harness 插件是一个导出 apply(ctx) 的模块;运行时通过 Cordis 将它挂到共享上下文,并自动管理依赖、注册和卸载。 官方仓库在 2026 年 8 月将项目标记为开发者预览,当前示例基于 0.1.1-rc.2。
与“给模型写一段提示词”不同,插件可以注册真正的运行时能力。模型适配器、工具注册表、会话日志和 Agent Loop 在 Harness 中本身也都是插件,因此扩展通常不需要修改所谓的“核心”。
插件、工具、Bundle 和 Profile 的区别
**判断标准很简单:**只增加一个模型可调用动作,优先写工具插件;需要接入新的模型提供商,写 LLM Adapter;需要把多个插件和默认配置一起交付,再封装成 Bundle。
开发前准备:版本和运行方式
源码开发与直接运行对环境的要求不同,先锁定版本能减少预览版 API 变化带来的问题。
先检查本机环境:
node --version
corepack enable
pnpm --version
git --version
只想使用发布版时,可以直接启动 Web UI:
npx @deepseek-ai/dsh@0.1.1-rc.2 web要开发和调试插件,建议克隆同一版本的源码:
git clone https://github.com/deepseek-ai/deepseek-harness.git
cd deepseek-harness
git checkout dsh-v0.1.1-rc.2
pnpm install
pnpm run build
pnpm dsh web
打开 http://127.0.0.1:3080。官方开发指南还建议首次安装后运行 pnpm run typecheck;没有 DeepSeek API Key 时,插件加载和无模型的 Cordis 示例仍可验证,但真实 Agent 对话不会完成。
第一步:创建最小工具插件
一个最小 Harness 工具插件只需要声明 tools 依赖,并注册一个包含名称、参数、输出和执行函数的工具。 下面创建 text_stats:输入任意文本,返回字符数、非空白字符数、行数和粗略 Token 估算。
在 DeepSeek Harness 仓库根目录执行:
mkdir -p scratch-plugin/src创建 scratch-plugin/src/index.ts:
import type { Context } from '@deepseek-ai/cordis'
import { defineTool } from '@deepseek-ai/dsh-tools'

export const name = 'text-stats'
export const inject = ['tools']

export function apply(ctx: Context) {
  ctx.tools.register(defineTool({
    name: 'text_stats',
    description: 'Count characters and lines, then estimate token usage.',
    parameters: {
      text: {
        type: 'string',
        required: true,
        description: 'The text to inspect.',
      },
      charsPerToken: {
        type: 'number',
        description: 'Positive estimation ratio; defaults to 4.',
      },
    },
    output: {
      schema: { type: 'string' },
      render: (_args, value) => [{ type: 'text', text: value }],
    },
    async execute(args) {
      const ratio = args.charsPerToken ?? 4
      if (!Number.isFinite(ratio) || ratio <= 0) {
        throw new Error('charsPerToken must be a positive number.')
      }

      const characters = [...args.text].length
      const nonWhitespace = [...args.text].filter(char => !/\s/u.test(char)).length
      const lines = args.text.length === 0 ? 0 : args.text.split(/\r?\n/u).length
      const estimatedTokens = Math.ceil(characters / ratio)

      return JSON.stringify({
        characters,
        nonWhitespace,
        lines,
        estimatedTokens,
        charsPerToken: ratio,
      })
    },
  }))
}
这里有 4 个不能省略的契约:
inject = ['tools']保证工具服务就绪后才执行apply。parameters会在execute前完成基础类型和必填项校验。execute返回值必须符合output.schema;基础设施故障应抛出异常。注册与插件 Fiber 绑定;插件卸载或热更新时,工具会自动注销。
charsPerToken 只是演示用启发式参数,不是模型厂商的精确 Tokenizer。生产插件若需要准确计费,应使用目标模型对应的分词器。
第二步:用 Patch 加载本地插件
本地开发最短路径是用 --patch 插入一个插件行,不必先发布 npm 包。
创建 scratch-plugin/cordis.yml,把路径替换为仓库的真实绝对路径:
- insert:
    - id: text-stats
      name: '/absolute/path/to/deepseek-harness/scratch-plugin/src/index.ts'
从仓库根目录启动:
pnpm dsh web --patch ./scratch-plugin/cordis.yml打开 Web UI 后输入:
请必须调用 text_stats,统计下面文本的字符数和行数:
DeepSeek Harness
Everything is a Plugin.
若模型的调用记录中出现 text_stats,并返回包含 characters、lines 和 estimatedTokens 的 JSON,说明注册、参数校验、执行和渲染链路都已打通。

第三步:理解依赖注入与生命周期
Cordis 用服务依赖表达加载顺序,用可逆副作用保证热更新后不残留旧注册。 插件若依赖 tools、llm 或 sessions,应写入 inject,而不是假设配置文件中的先后顺序永远可靠。
当必需服务消失时,依赖它的插件会自动卸载;服务恢复后,插件会重新加载。事件监听、工具注册和适配器注册都由当前 Fiber 跟踪。
需要手动释放的资源应放进 ctx.effect():
import type { Context } from '@deepseek-ai/cordis'

export function apply(ctx: Context) {
  ctx.effect(() => {
    const timer = setInterval(() => {
      console.log('[text-stats] alive')
    }, 5000)

    return () => clearInterval(timer)
  })
}
如果多个异步清理步骤存在先后依赖,应在同一个 disposer 内按顺序 await,因为不同 disposer 会并发执行。
什么时候需要自定义配置
凡是不同部署可能采用不同值的参数,都应进入 Schemastery 配置,而不是硬编码。 例如超时、API 端点、重试次数和功能开关都适合放进插件导出的 Config。
import Schema from '@deepseek-ai/schemastery'

export interface Config {
  defaultCharsPerToken: number
}

export const Config: Schema<Config> = Schema.object({
  defaultCharsPerToken: Schema.number().default(4),
})
配置不合法时应让插件加载失败。修改 cordis.yml 后,HMR 会卸载旧实例、撤销旧注册,再用新配置加载插件。
第四步:封装成可安装 Bundle
Bundle 是带 dsh.bundle manifest 和配置 patch 的 npm 包;它负责分发,插件模块负责运行。 为降低初次发布复杂度,下面把已验证的 TypeScript 示例改成无需构建的 JavaScript 包。
目录结构如下:
deepseek-text-stats/
├── package.json
├── cordis.patch.yml
└── index.jspackage.json:
{
  "name": "dsh-text-stats",
  "version": "0.1.0",
  "type": "module",
  "main": "index.js",
  "files": ["index.js", "cordis.patch.yml"],
  "dependencies": {
    "@deepseek-ai/dsh-tools": "0.1.1-rc.2"
  },
  "dsh": {
    "bundle": {
      "patch": "./cordis.patch.yml"
    }
  }
}
创建 index.js(这是可直接发布的 JavaScript 版本):
import { defineTool } from '@deepseek-ai/dsh-tools'

export const name = 'text-stats'
export const inject = ['tools']

export function apply(ctx) {
  ctx.tools.register(defineTool({
    name: 'text_stats',
    description: 'Count characters and lines, then estimate token usage.',
    parameters: {
      text: {
        type: 'string',
        required: true,
        description: 'The text to inspect.',
      },
      charsPerToken: {
        type: 'number',
        description: 'Positive estimation ratio; defaults to 4.',
      },
    },
    output: {
      schema: { type: 'string' },
      render: (_args, value) => [{ type: 'text', text: value }],
    },
    async execute(args) {
      const ratio = args.charsPerToken ?? 4
      if (!Number.isFinite(ratio) || ratio <= 0) {
        throw new Error('charsPerToken must be a positive number.')
      }
      const characters = [...args.text].length
      const nonWhitespace = [...args.text].filter(char => !/\s/u.test(char)).length
      const lines = args.text.length === 0 ? 0 : args.text.split(/\r?\n/u).length
      const estimatedTokens = Math.ceil(characters / ratio)
      return JSON.stringify({ characters, nonWhitespace, lines, estimatedTokens, charsPerToken: ratio })
    },
  }))
}
cordis.patch.yml 使用包名,让 Node 从 profile 的依赖中解析模块:
- insert:
    - id: text-stats
      name: dsh-text-stats
安装到 Web profile:
npx @deepseek-ai/dsh@0.1.1-rc.2 plugin --profile web add ./deepseek-text-stats
npx @deepseek-ai/dsh@0.1.1-rc.2 --profile web --dump-config
npx @deepseek-ai/dsh@0.1.1-rc.2 web
--dump-config 中应出现 dsh-text-stats 配置层和 text-stats 行。卸载命令为:
npx @deepseek-ai/dsh@0.1.1-rc.2 plugin --profile web remove dsh-text-statsProfile 的四层配置优先级
后应用的层按行覆盖前层;同一行的 config 是整体替换,不是逐字段深度合并。因此覆盖已有行时,要重述该行仍需保留的全部字段。
第五步:测试、排错与发布
插件验证应至少覆盖配置树、工具成功路径、非法输入、卸载清理和安装产物。
运行
--dump-config,确认 bundle 层和插件行存在。用固定输入调用工具,断言返回值符合
output.schema。传入
charsPerToken: 0,确认工具返回错误而不是静默计算。修改插件文件触发 HMR,确认工具没有重复注册。
执行
pnpm pack,在新的 profile 中从.tgz安装并复测。
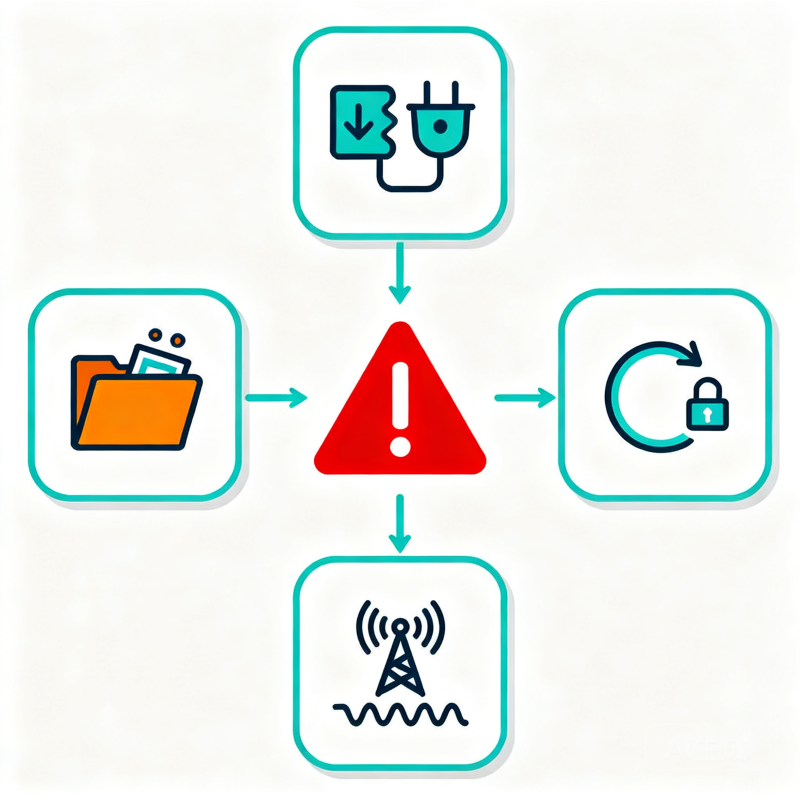
常见故障可按下表定位:
从 GitHub 安装源码包时,pnpm 10+ 默认不会执行依赖的构建脚本。用户只有在确认源码可信后,才应在 profile 的 pnpm-workspace.yaml 中加入 allowBuilds;同时建议把 GitHub 依赖锁定到 commit SHA。安装脚本运行在 Agent 沙箱之外,这是一条实际的供应链边界。
如何接入模型 API
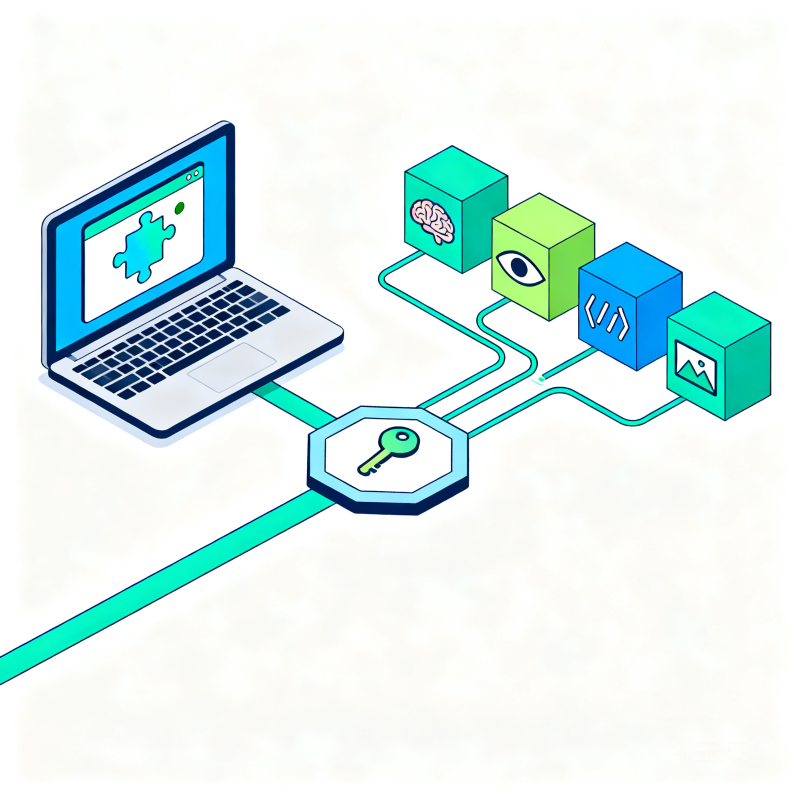
模型端点属于 LLM Adapter 配置,不应写进业务工具插件。 官方 llm-deepseek 适配器读取 DEEPSEEK_API_KEY,并允许用 DEEPSEEK_BASE_URL 覆盖默认公开 API。
例如连接一个经过确认、兼容 OpenAI 请求格式的端点:
export DEEPSEEK_API_KEY="YOUR_QINIU_TOKEN_PLAN_KEY"
export DEEPSEEK_BASE_URL="https://api.qnaigc.com/v1"
npx @deepseek-ai/dsh@0.1.1-rc.2 web
如果模型选择器未列出目标模型,需要在 profile patch 中配置提供方和模型 ID。技能产品库给出的 2026 年 8 月示例 ID 为 deepseek-v4-flash-20260731;由于 Harness 与平台模型目录都处于高频更新期,发布前必须以控制台实际可用 ID 复核,不能把展示名当作 API ID。
国内多模型 AI 推理 API 平台速查(2026 年 8 月)
详细配置教程前往:https://developer.qiniu.com/aitokenapi/13550/deepseek-harness-configuration-access-ai
进一步扩展:工具、Hook 还是 LLM Adapter
扩展类型由你要改变的运行时边界决定,而不是由代码量决定。
LLM Adapter 的流式协议尤其严格:每个 block-start 必须有对应的 block-end,usage 必须先于 finish,而且 finish 必须是最后一个分片。无法支持的生成参数应抛出稳定的 LlmError,不能静默忽略。
总结与时效声明
DeepSeek Harness 插件开发的稳定主线是:用 apply(ctx) 注册能力,用 inject 声明依赖,用 Cordis Fiber 管理清理,再用 Bundle 和 Profile 完成交付与组合。工具插件应先在 --patch 中验证,再执行 --dump-config、行为测试和打包安装测试。
据 DeepSeek AI 官方仓库 README、开发指南、插件教程、工具参考和发布教程(2026),该项目仍处于开发者预览阶段并明确可能发生破坏兼容性的变更。本文属于高时效内容,基于 0.1.1-rc.2 与 2026 年 8 月 26 日资料,建议 39 天内复核 CLI、包版本、工具 schema 和模型目录。